
Easy Step-by-Step Guide to Setting Up a Pickleball Net Correctly
Setting up a pickleball net correctly ensures fair play and maximizes your playing time. Follow these simple steps to get your court ready quickly.
Choose the Right Location
- Select a flat, level surface (hard court, grass, or beach)
- Ensure enough space for proper court dimensions
- Consider surface drainage if outdoors
Unbox and Inspect Components
- Frame pieces
- Net material
- Support poles
- Center strap
- Base supports
- Any included hardware
Assembly Steps
- Frame Setup:
- Lay out all frame pieces
- Connect support poles according to manufacturer instructions
- Ensure all connections are secure
- Net Installation:
- Slide net onto frame or attach with clips
- Center the net between poles
- Secure all attachment points
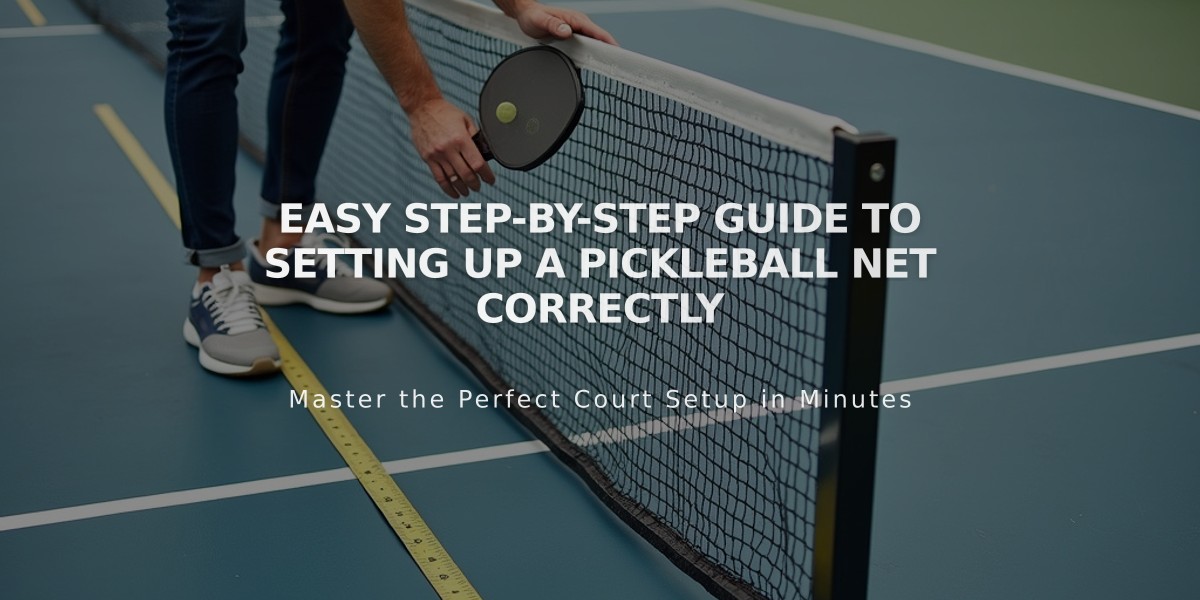
- Height Adjustment:
- Set sideline height to 36 inches
- Adjust center to 34 inches (regulation height)
- Use measuring tape to verify
- Tension Adjustment:
- Pull net taut but not overly tight
- Ensure even tension across entire width
- Check for proper bounce resistance
Maintenance Tips:
- Store in dry location when not in use
- Clean regularly with mild soap and water
- Check for wear before each use
- Tighten any loose components immediately
Safety Checks:
- Verify base stability
- Test frame rigidity
- Ensure nets clips are secure
- Check center strap tension
Your pickleball net is now ready for play. Regular maintenance will extend its lifespan and ensure consistent performance.
Storage:
- Disassemble carefully
- Keep all parts together
- Use provided carrying case
- Store away from extreme temperatures
By following these steps and maintenance guidelines, your pickleball net will provide years of reliable service and enjoyable gameplay.